<目次>
- 初回概要
- IBM Cloud の設定
- LINE Platform の設定
- Raspberry Pi の設定
- Raspberry Pi の設定
今回はCloud 環境を作る為に IBM Cloud を使用します。
IBM Cloud で使用したシステムは以下の通りです。
- Watson Assistant --- 対話機能(AI)
- Speech To Text --- 音声をテキストに変換
- Text To Speech --- テキストを音声に変換
- Internet of Things ーーー Raspberry Pi 基盤との情報交換機能
- Node-RED --- 上記(IBM Cloud内)のシステムの制御
この投稿では、上記 IBM Cloud 内システムの設定をご紹介します。
▼ IBM Cloud 設定 ▼
< IBM Cloud のアカウントの作成 >
1. IBM ID の登録および IBM Cloud アカウントの作成ページを開きます。
IBM ID の登録および IBM Cloud アカウントの作成
2. 必要事項を入力し、アカウントを作成します。
※ アカウントを作成するのに、IBM の承認が必要であり1日程度待つ必要があります。
< 各種カタログの作成 >
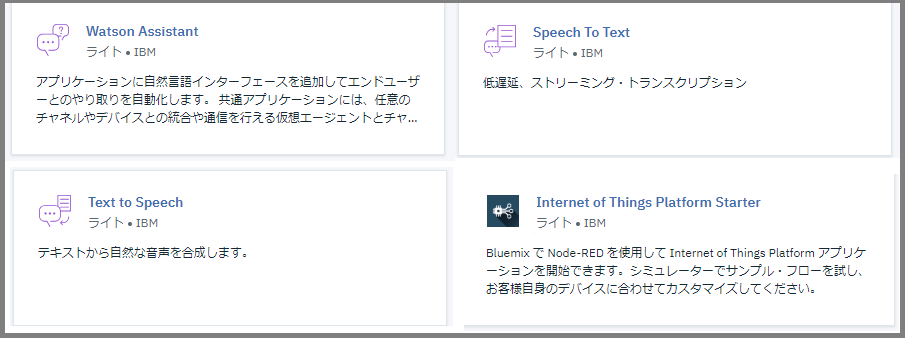
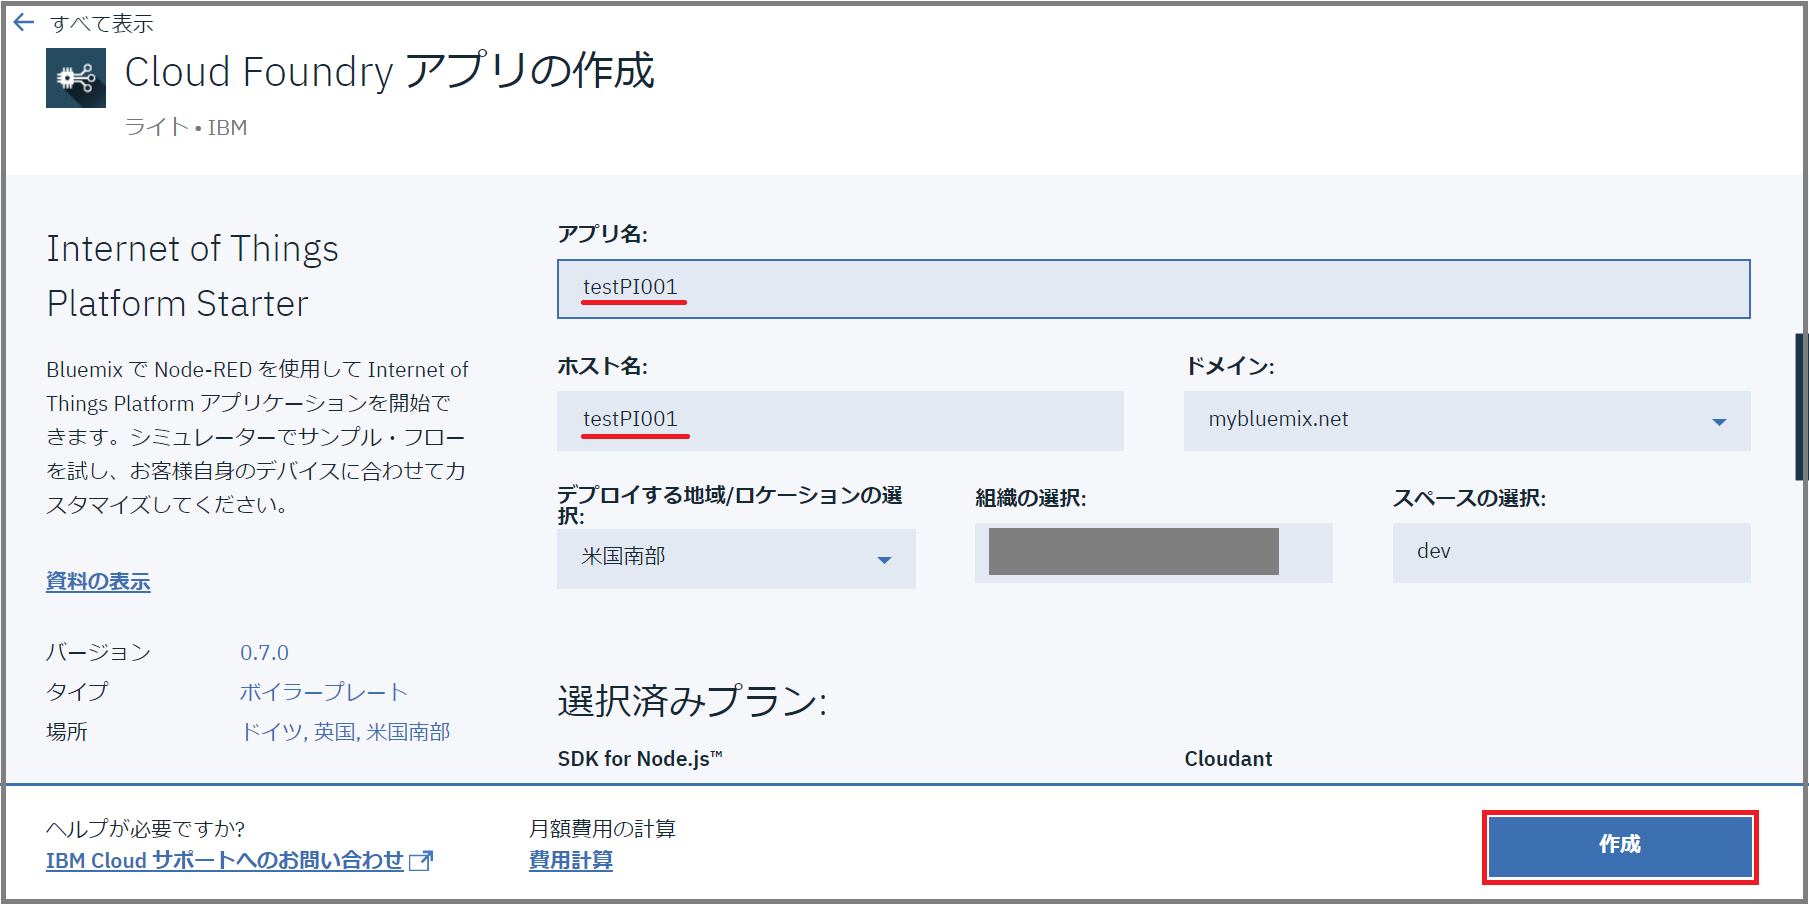
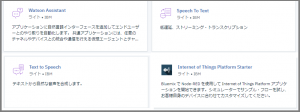
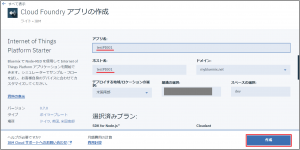
1. IBM Cloud にログインし、以下のカタログを作成します。
サービス名・アプリ名・ホスト名は任意に入力します 。(ホスト名は後に使用します)
- Watson Assistant (カテゴリー:Watson)
- Speech To Text (カテゴリー:Watson)
- Text To Speech (カテゴリー:Watson)
- Internet of Things Platform Starter (カテゴリー:スターター・キット)

↓
↓
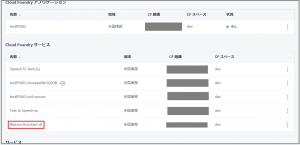
2. Watson Assistant・Speech To Text・Text To Speechの資格情報をメモします。
< Watson Assistantのセットアップ >
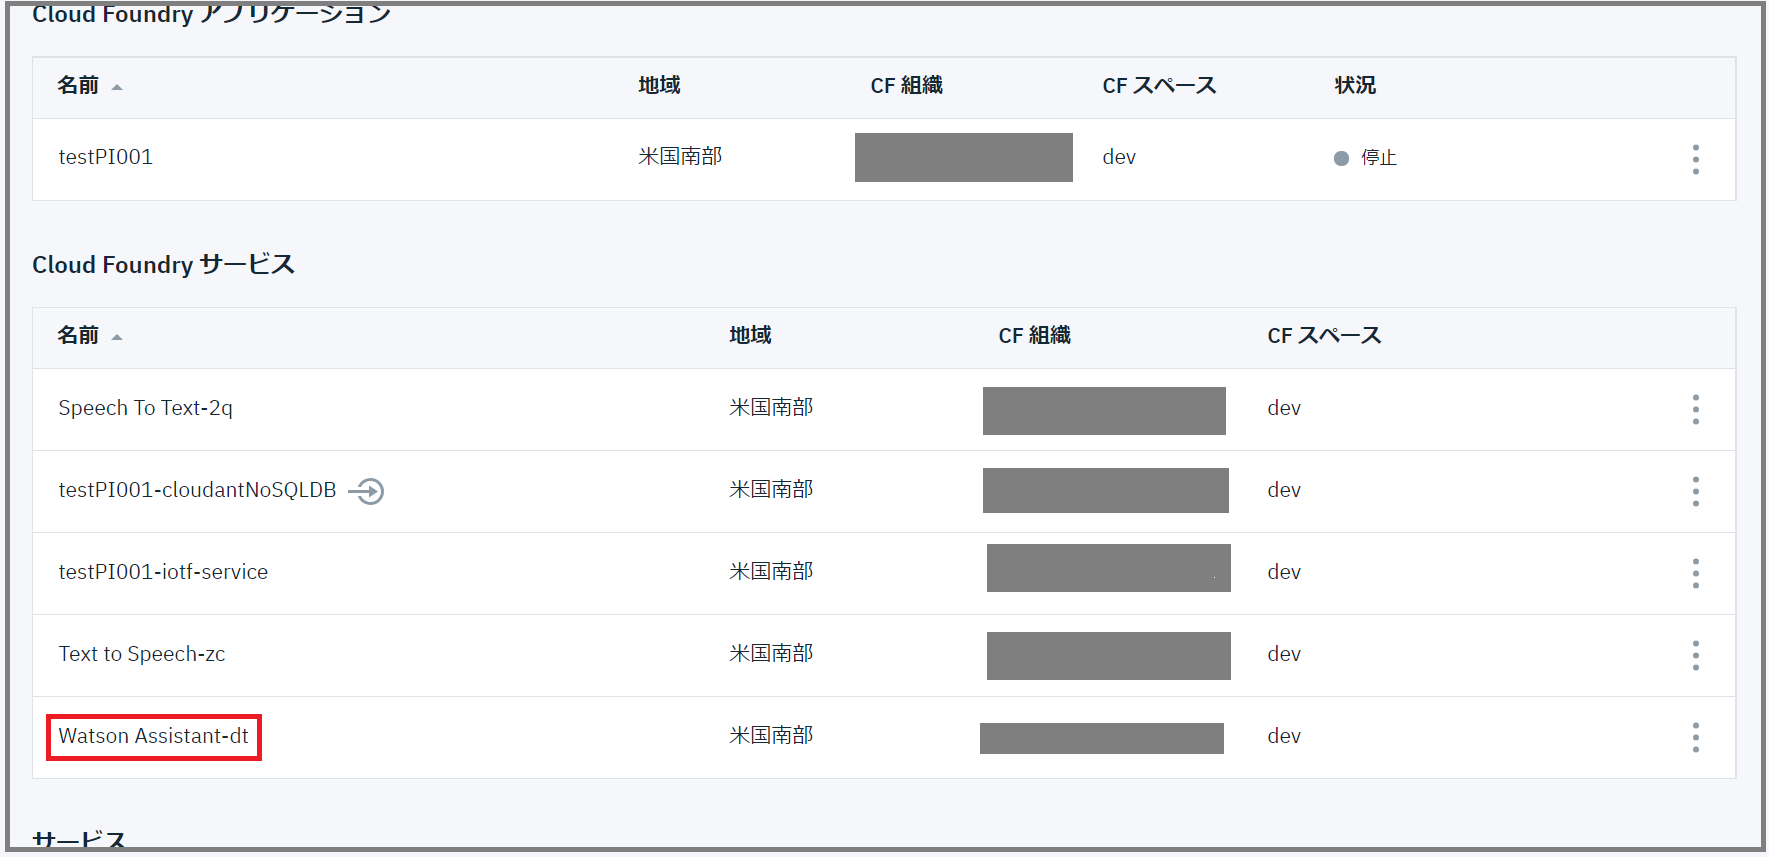
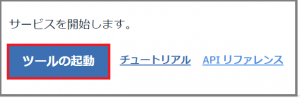
1. ダッシュボードのWatson Assistantサービスを開きます。

↓
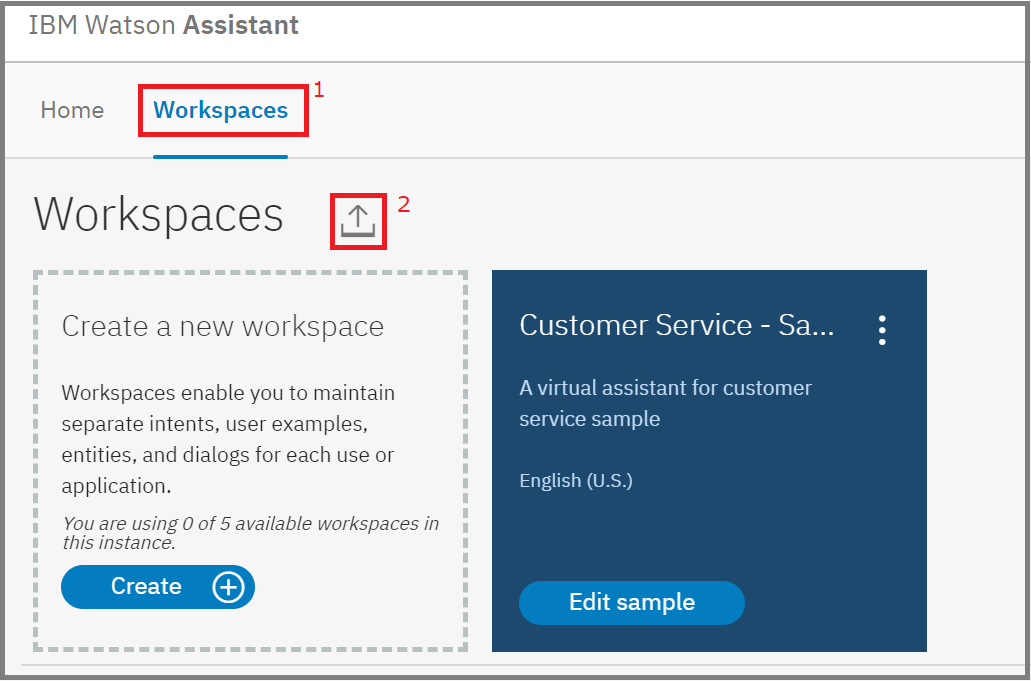
2. 「ツールの起動」を選択します。
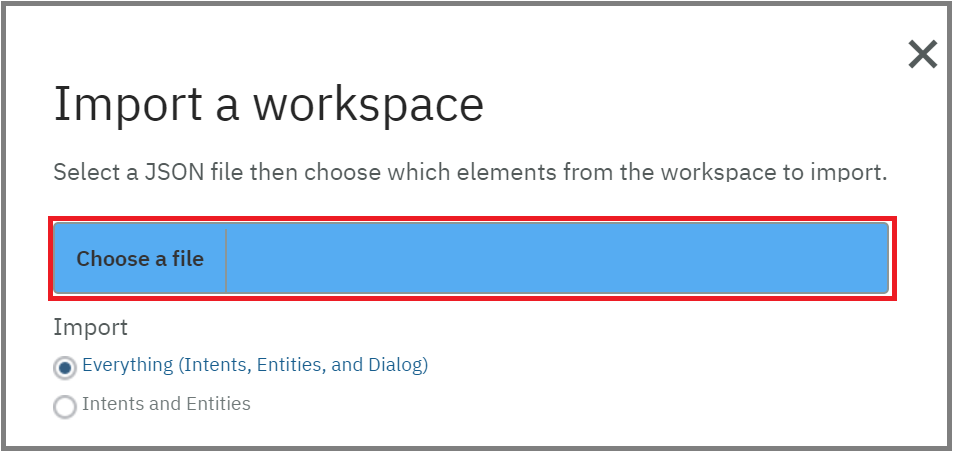
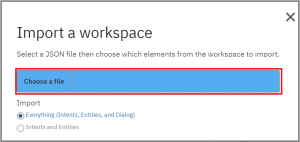
3. 「Workspaces」を選択し、「Import a workspace」ボタンをクリックします。

4. aispeaker-conversation.jsonファイルを選択しインポートします。
※上記のファイル内容はページの最後に記載します。
※今回は予め作成したものをインポートします。基本的なWatson Assistant の設定方法にご興味をお持ちの方はこちらへどうぞ。
Watson Assistant の使い方を学ぶ
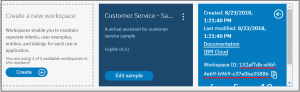
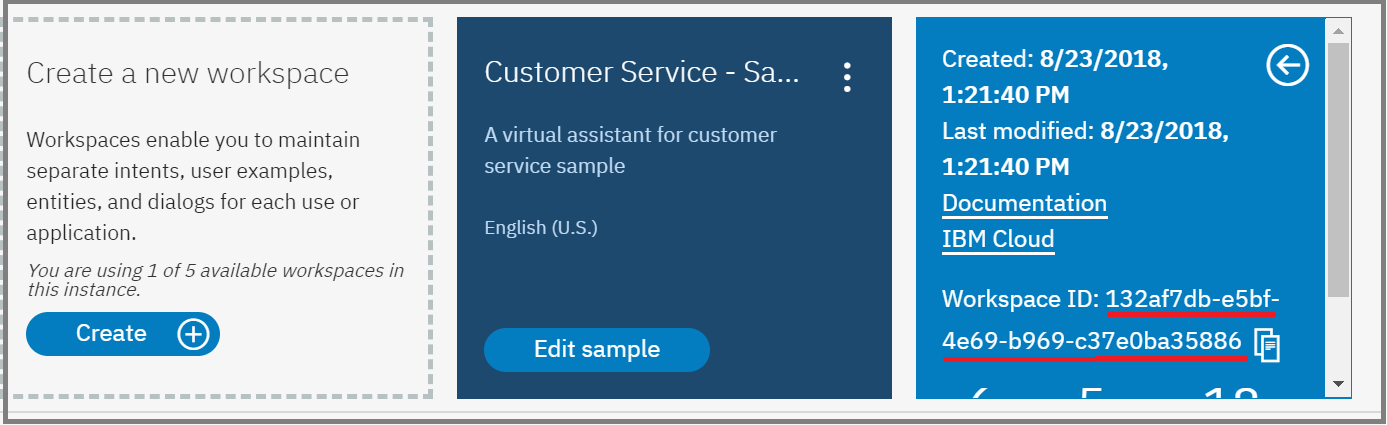
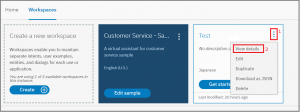
5. 「view detail」よりワークスペースIDをメモします。
↓